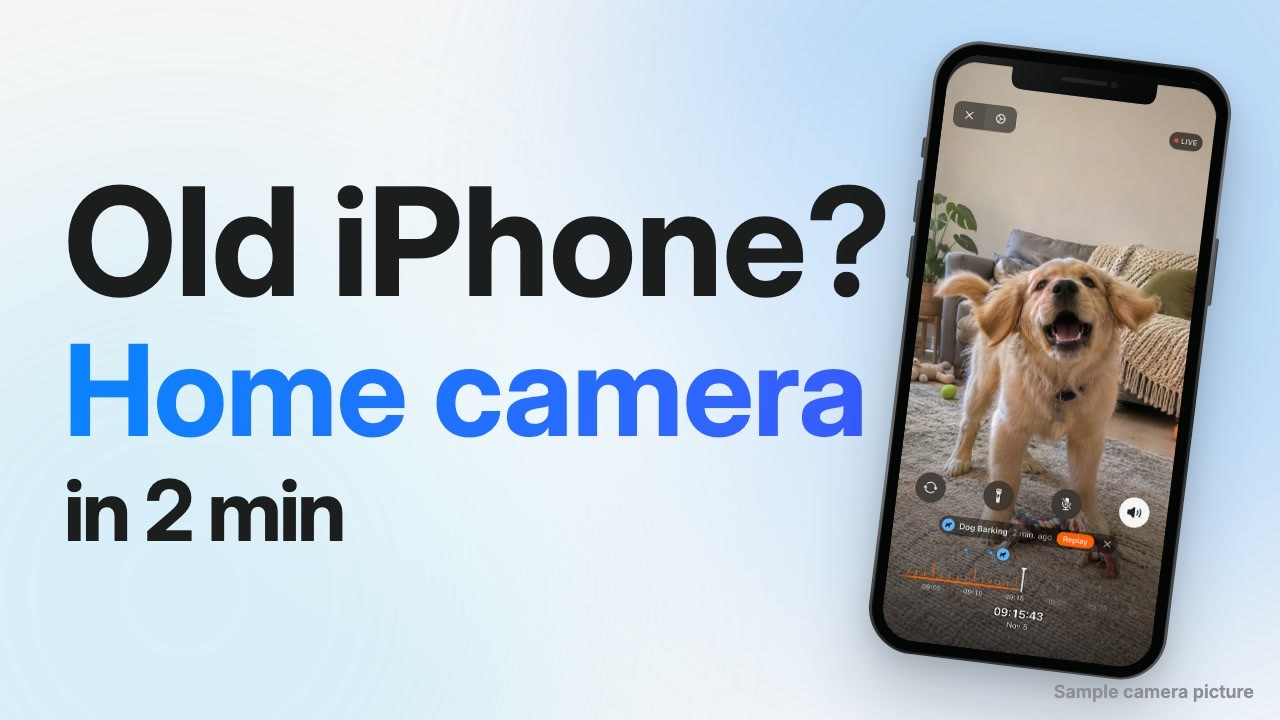
A spare iPhone can work as an indoor camera. You need an app, a charger and a second Apple device to watch from. Setup takes a few minutes, and this guide covers where to put the phone and how to keep it running.
The steps below use Phonitor, one of the apps that does this. Most of the advice still applies to any app in this category. Placement and power work the same whichever one you pick.
What you need
- A spare iPhone, iPhone 6s or newer. Even a 2015 iPhone 6s works. iPads work too: iPad Air 2, iPad mini 4 or newer. So does a Mac with Apple silicon.
- A second Apple device to watch from. An iPhone, iPad or Mac.
- The same Apple Account on both. Phonitor has no sign-in of its own. It uses your Apple Account, and iCloud Drive has to be on. To share cameras with family on their own Apple Accounts, use Family Group, a Pro feature: everyone can set up cameras and watch each other’s shared ones.
- Wi-Fi or mobile data on both devices. That’s how you can watch from anywhere.
- A charger and a long cable. The camera stays plugged in.
Step 1: Get the old phone ready
Charge it and update it to the newest iOS it accepts. Open Settings and check that the name at the top matches your main phone. Turn on iCloud Drive. If your iCloud storage is full, a new camera may not sync to your other devices, so clear some room first.
Then do three things most guides skip:
- Free up storage. Recordings are saved on this phone, so delete what you don’t need.
- Turn off automatic iOS updates, so an overnight update doesn’t restart the phone while it’s working as a camera.
- Take out the SIM, or silence calls, so a phone call doesn’t interrupt the camera.
Step 2: Start the camera
Install Phonitor on both devices. On the old phone, choose Use as Camera, allow camera, microphone and local network access, give it a name like “Living Room”, and tap Start Camera. On your main device, choose Watch.
A new camera can take a minute or two to show up. Pull down on the home screen to refresh. If it still doesn’t appear, check the three things the app checks: the same Apple Account, both devices online, and iCloud not full.
Step 3: Pick the spot
Where the phone sits matters more than which phone it is.
- Use the rear camera. It’s the better camera, and it’s the one with night vision.
- Aim at what you care about. A door or a hallway tells you more than a whole room shot from far away. If the phone has an ultra-wide lens, Phonitor uses it by default.
- Keep bright windows out of the frame. The camera adjusts to the bright window and the room goes dark.
- Don’t film through glass at night. You’ll mostly see reflections.
- Be considerate. Don’t point it at a neighbor’s window or a shared space, and tell the people who live or work in your home. Rules on recording audio vary by place.
Step 4: Keep it running
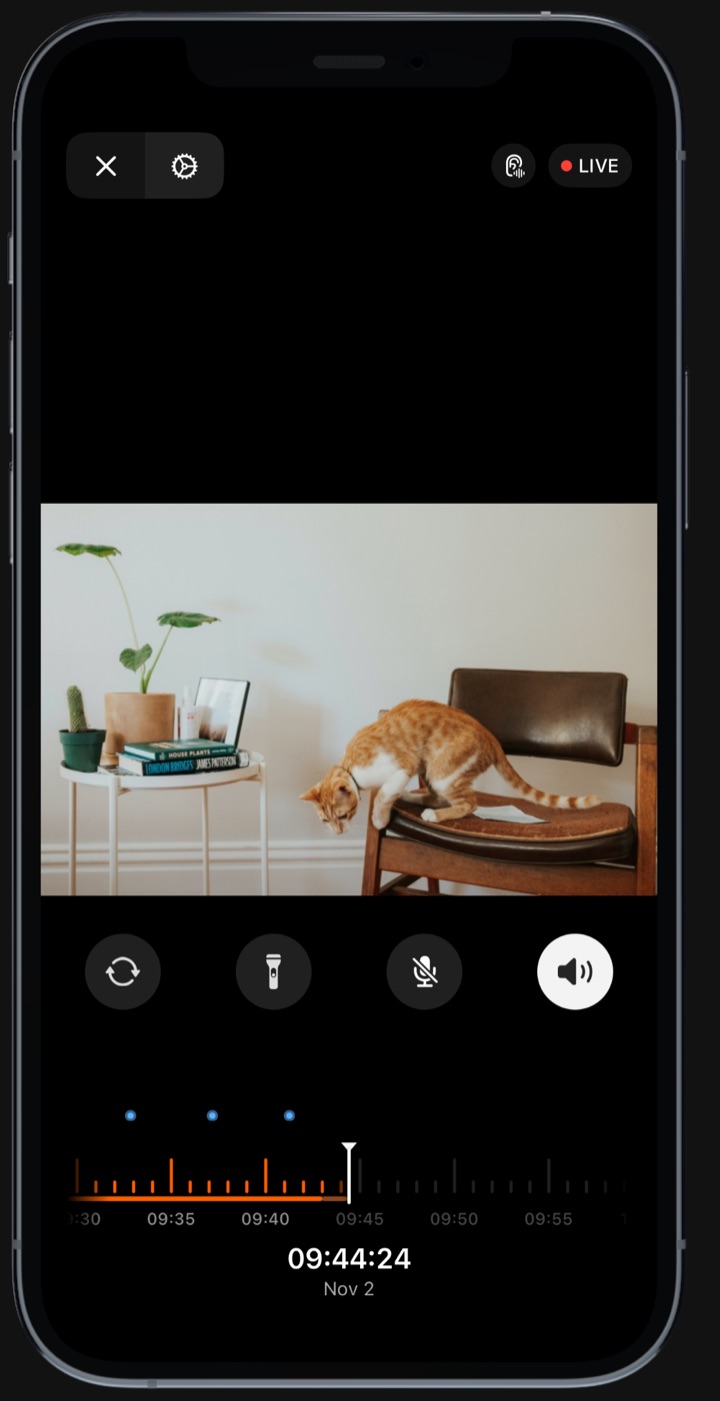
Leave the phone on the camera screen with Phonitor open, and plug it in. You don’t need to do anything about the screen. Phonitor stops the phone from locking, and after about a minute it drops into Battery Saver Mode, which dims the screen to almost nothing while the camera keeps working.
How far back can you look?
Recording is on by default, and the video stays on the camera phone. You choose how much storage to use, and Phonitor keeps the most recent footage within that limit. These are the estimates Phonitor shows in its settings:
| Quality | 16 GB limit | 32 GB limit | 64 GB limit |
|---|---|---|---|
| 720p, 24 fps | about 12 hours | about 24 hours | about 47 hours |
| 1080p, 30 fps (default) | about 5 hours | about 10 hours | about 20 hours |
| 1440p, 30 fps | about 2 hours | about 4 hours | about 9 hours |
If you want to come home and check what happened during the day, the default is fine. If you’re going away for a weekend, drop to 720p or raise the limit.
What it can do
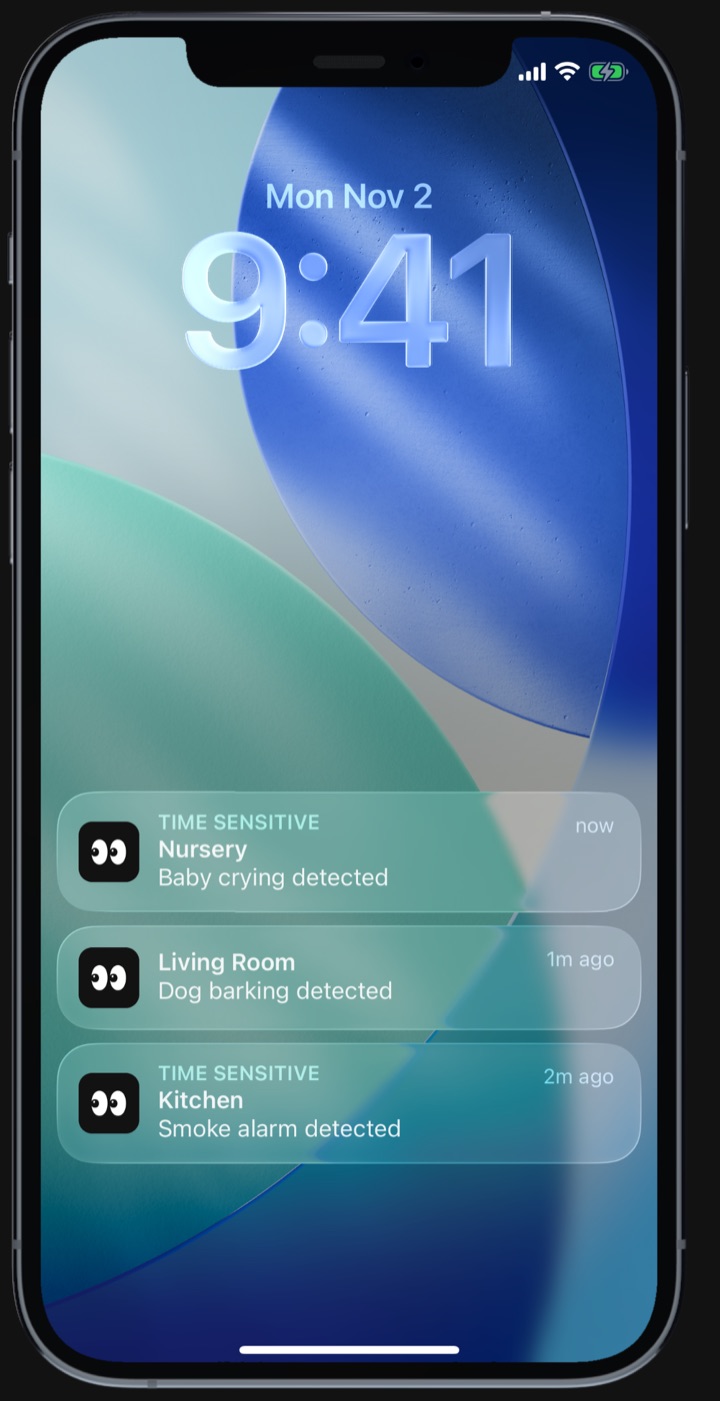
- Sound alerts. With Pro, Phonitor listens for the sounds you pick for each camera: smoke alarm, baby crying, dog barking, cat meowing, shouting, coughing, glass breaking and sudden noise. Tap an alert to jump to that moment. Sound recognition runs on the camera itself; no audio is uploaded.
- Recordings stay with you. Footage is saved on the camera phone itself, and with Pro you can export any clip you want to keep.
- Watch from anywhere. Wi-Fi or mobile data works, so you can check in from work or on holiday.
- Night vision. In a dim room, Phonitor brightens the picture and makes the most of a nightlight or a hallway lamp. You can also switch on the phone’s torch from the viewer for up to 90 seconds.
- A handy extra for smoke alarms. The smoke alarm alert tells you when one goes off at home. Keep your smoke alarms in place as usual.
Free or Pro?
The free plan gives you recording, night mode and every resolution.
Pro is $4.99 a month or $35.99 a year in the US, with a 7-day free trial. It adds Sound Alerts, Family Group, clip export, background play and two-way talk.
If you have a spare iPhone in a drawer, it takes one evening to set up, and it costs nothing to try.
Phonitor turns a spare iPhone, iPad or Mac into a home camera. Free on the App Store.